Spreadsheets have become an inevitable part of our daily lives. We tend to use them for official and personal purposes. An organization is immobile without a spreadsheet. In fact, one can carry on various other activities with the help of a spreadsheet. However, navigating through one becomes a troublesome situation. To find a solution read below.
Use the Navigator
You will find the navigator listing down certain parts. These parts include parts within a document which have been grouped into other categories. They might include the headings or comments or tables or bookmarks. It can also be a few pictures or slides.
If you want to use the Navigator follow these simple steps.
- Firstly, click on the Navigator which is present as an icon. You will find it on the Standard toolbar. You can press the F5 key as well. Or You can click View followed by Navigator on the Menu bar or click on the Page Number or the Count area. You will find it on the Status Bar, or click the Navigator icon.

Move the Navigator
Navigator is of great help to users. It helps to find a way to the spreadsheet in an easier manner. If you want to do so you need to be aware of the various ways of moving the navigator.
When you find a specific group displaying the list of objects in it, you need to double-click on that part. One also needs to move directly to the location of that part in the document. You must know that you can find these parts very easily if you have provided identifiable names to them. You need to give them such names when you are creating them. Try to avoid keeping the default names. These names might be corresponding to the real position of the document.
With the help of a Navigator, you can also shift, place the items above and below within a document. You must know that each of the navigator present in the Nebula Office part consists of a variety of operations.
Add images to the spreadsheet
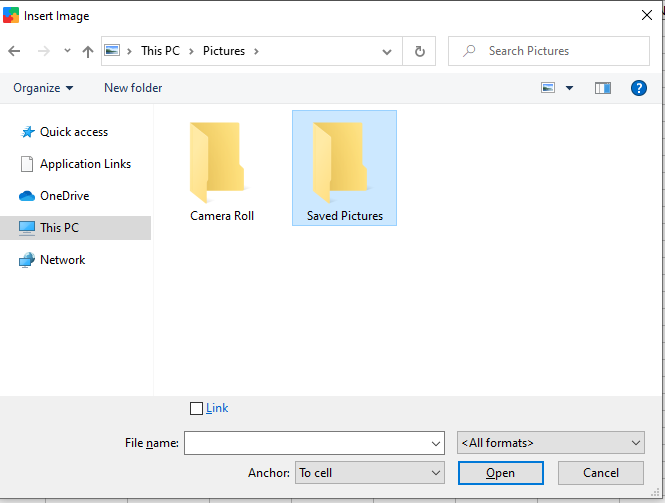
If you wish to add images to your spreadsheet follow, these simple steps.
- You need to insert an image file into the spreadsheet. You can do so by dragging and dropping.
- Then, you need to put the insert dialog box.
- Next, you can make the image a permanent part of the spreadsheet by linking it. To link the picture, you need to click Edit followed by Links to an external file that is present on the Menu bar.
You can also put a picture using the scanner or from the clipboard. You can also use your personalized collection present in the Gallery to help you feed pictures.
Resize the image on the spreadsheet
If you wish to resize an image on your spreadsheet, you need to follow the mentioned steps.
- You need to click on the picture to display the handles which you have selected.
- Next, you need to place the cursor on any of the selected handles. You will find that the cursor will be different in terms of shape. The shape shall now shift to the representation of a graph showing the direction of resized function.
- If you look at the handles at the corners you must know that they will resize the height and width of the picture at the same time. You will come across handles present above, below, right, and left. You can perform the resizing function but only once at a time. The top, bottom, left and right handles only resize one dimension at a time.
- Finally, you need to click and drag to resize the image.
Nebula office comprises of various features that help you to perform a variety of actions. Whether you want to work with a document or a spreadsheet or a file you can do that easily with the help of the Nebula Office. The steps are easy to follow and less complicated.
The tools are present to facilitate better usage of the software. You can undo, redo, save, resize, insert, delete, and perform various other functions with the help of this software.