Beat Finder
From Audacity Development Manual
Beat Finder attempts to place labels at beats which are much louder than the surrounding audio. It's a fairly rough and ready tool, and will not necessarily work well on a typical modern pop music track with compressed dynamic range.
If you already have a label track and that is included in the selection that you make for the analysis then these labels will be added to your selected label track - possibly causing confusion with your existing labels.
|
- Accessed by:
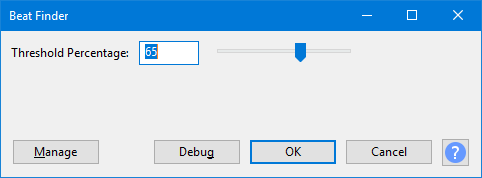
Threshold Percentage
Sets the beat detection threshold. The default setting is 65%. The setting can be changed by typing directly into the box or by using the slider.
If you do not get enough beats detected, try reducing the "Threshold Percentage" setting.
Buttons
Clicking on the command buttons give the following results:
- gives a dropdown menu enabling you to manage presets for the tool and to see some detail about the tool. For details see Manage presets
- applies the effect to the selected audio with the current effect settings, but unlike the effect runs in debug mode. This is primarily of use when writing or editing Nyquist plug-ins.
- In addition to the normal plug-in behavior, a "debug window" opens to display error messages, normally the debug window will be empty
- applies the effect to the selected audio with the current effect settings and closes the dialog
- aborts the effect and leaves the audio unchanged, closing the dialog
 brings you to the appropriate page in the Manual, this page